Maneuvering an aluminum boat can be extremely tiresome, especially if you are spending hours of your day out on the water.
Trolling motors are a must-have addition to any vessel, especially for individuals who own a boat but hate having to paddle. There are three ways that it can be mounted: the bow, stern, or engine.

Depending on the location, you will need to drill holes and screw the base of the motor or attach it to the boat using a clamp. Essentially, it is an easy task even for the most inexperienced person.
But how do you mount a trolling motor on an aluminum boat? What are the step-by-step procedures?
This article is a guide to the trolling motor; where you can mount it, how to mount it, and why you should invest in one. Read on to find out more.
What Is An Aluminum Boat?
This is a style of fishing boat that comes in three options; a Jon boat, Deep-V, and Mod-V (Modified-Vee). The Jon boat is the most popular type of aluminum boat and has many distinctive features that set it apart.
They have flat bottoms and a blunt or squared-off shaped bow, making them exceptionally great for shallower and smaller bodies of water such as lakes and rivers.
What Is A Trolling Motor?
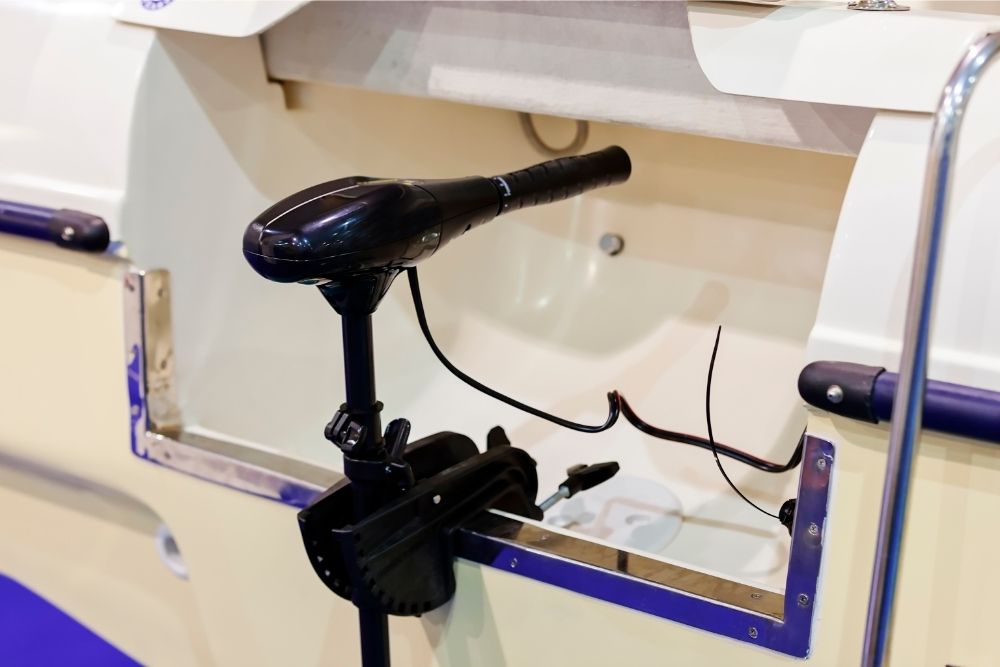
This is a self-contained unit that typically includes an electric motor, a propeller, and controls, and is affixed at the bow or stern of a boat.
It is also a crucial tool that can be used for a series of boating-based activities. It is ideal apparatus to help you to maneuver your boat when you don’t want to start the engine up.
Adding a trolling motor to an aluminum boat can be quite a complicated process if you do not equip yourself with the necessary knowledge and tools.
Why You Should Use A Trolling Motor
There are some boating activities where you may need your boat to move at a particular speed. Boats are built for this type of use. As a result, boat engines work efficiently at fast and slow speeds.
However, some activities require a much slower speed than boat engines are typically designed to output.
That’s why trolling motors come in handy! Control is the main factor that trolling motors cater to. By adding one to your boat you can control your speed and your ability to turn, making for a much easier ride as a result.
Not only does a trolling motor provide your boat with the ability to cruise along at a relaxing rate of around 3 to 5 knots (around the average walking speed of a human adult).
But it also allows your boat to remain in one spot when fighting against extreme weather without the necessity for a physical anchor.
This means they are great for sightseeing!
Trolling motors produce minimal wake overall, meaning you can move through the water without disturbing any of the wildlife living beneath the surface.
Bow, Transom And Engine Mounts (A Brief Comparison)

There are two main ways that a trolling motor can be mounted on an aluminum boat. Below, we will give you brief definitions of each.
Bow Mount
These trolling motors are designed to use on boats with no rail and level bows. Using plywood as a base, this is generally mounted at the bow of a boat. Or, more simply, at the front.
It is far more complex to install than other mounts but it does provide you with the ability to achieve more accurate control.
This is because you have to bolt the motor mount through the deck, meaning it is also far more secure.
You can have these particular mounts (and the trolling motor itself) professionally installed but nothing is stopping you from doing it yourself. It’s highly doable if you’ve got the correct knowledge and tools!
Transom Mount
This is the best mounting technique for smaller vessels, including canoes. It is far easier to install than a bow-mounted trolling motor. It’s also much simpler to replace and remove which is highly convenient for you!
A transom mount motor is relatively straightforward to use. After correctly positioning your motor, all you have to do is tighten the clamps to ensure it is tight and secure to your boat.
Engine Mount
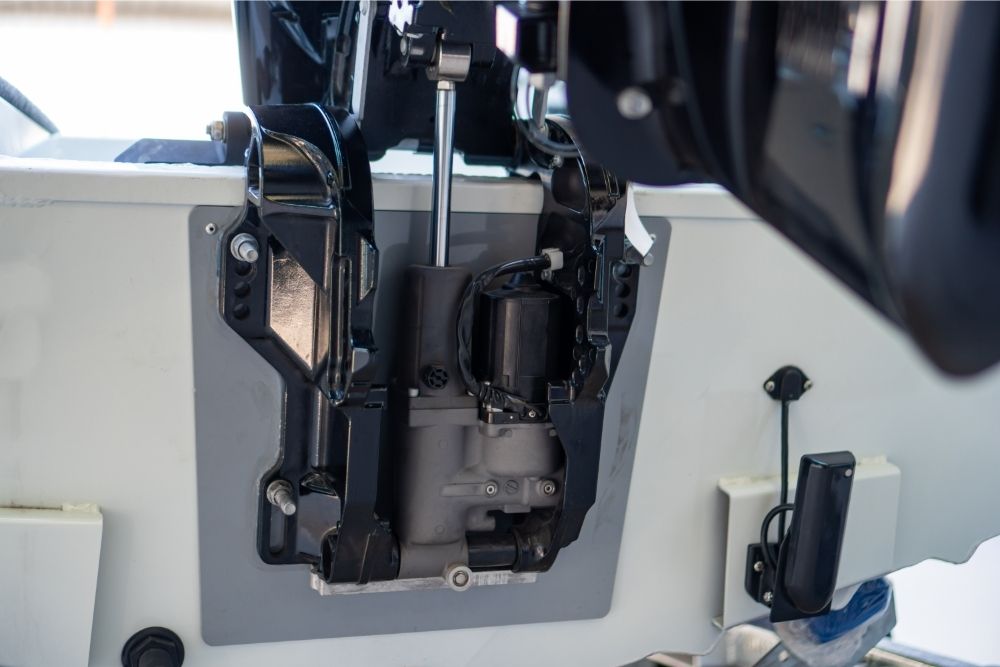
The purpose of marine engine mounts is to isolate any vibrations created by the engine. It also helps to absorb a large amount of shock and vibration when your aluminum ship is in motion. These are arguably the most practical mount as it helps to stabilize the engine.
How To Mount A Trolling Motor On An Aluminum Boat
If you want to install a trolling motor, you will need a strong 24 or 36-volt battery to ensure that you can power the motor. Moreover, if you have a Jon boat between 14 and 20 feet in length, you probably won’t have to think twice about whether to install trolling motor mount.
However, you should be aware of the fact that some aluminum boats may not come pre-fitted with mounters. And, unfortunately, installing new ones means there will be an additional unnecessary weight on your aluminum boat – which can be a bother.
Now you know a little more about what a trolling motor is, it’s time to look at the equipment required to fix it to your boat, and how to do it.
What You Need
Bow Mount

Confirming whether your boat features a wood deck or not is the first thing that needs to be done before properly starting this process. This is a common feature in boats over 14 feet in length.
If your vessel doesn’t have a deck made from wood, then you should consider either having one installed or choosing a transom mount in its place.
- Bow Mount (Trolling Motor)
- Screwdriver
- Washers
- Pencil
- Drill
- Battery
- Screws
- Plywood (optional)
- Galvanized bolts (optional)
- Jigsaw (optional)
Steps
- Prepare the plywood you’ll be using for your trolling motor base. This must measure approximately three feet and must be the equivalent to your boat’s maximum width so it can be affixed properly. Then put it onto your boat’s bow. Using a marking tool of your choice, make a mark after you have measured it against the shape of the bow.
- Follow the shape using a jigsaw. Then put the plywood onto the bow. Make sure that you utilize the bolts to fix it on your boat. Now the base is established, you can proceed to install the trolling motor.
- Next, you should take your trolling motor mounting base and pick a particular side on which you want to set it up. We’d recommend placing it on the opposite side to where you would usually sit so that your view is not obstructed when the trolling motor has been activated.
- Place the base near to the bow (around a foot from the bow’s tip). Don’t make any marks until you’re sure the placement is correct – so the motor can be easily stowed and deployed.
- Then you should join the trolling motor with its mounting base. Keep the base as still as possible in its initial position. Then, set it into a deployed position. This will help you to see whether it is working correctly.
- You should put it into a stowed position and make sure the top of the motor remains within the main area of your boat. This helps to prevent accidental damage, namely hitting the motor on surrounding objects during the docking process, thus helping to limit unnecessary damage that may be inflicted upon the motor.
- Create a mark that signifies the spot where you will be attaching the base of your mount. After this, detach it before marking where the screws will be fitted. Reattach the base using washers to ensure the trolling motor doesn’t move when it is deployed. This also helps to keep an even base.
- Begin assembling the trolling motor. Ensure the trolling motor (especially the head of the motor) remains clear and within the boundaries of the deck when it is deployed. Essentially, this ensures that you remain as safe as possible during this process.
Extra Note: You should install a battery under the bow to power the trolling motor. These wires should come included with your original purchase, but you will have to purchase the battery individually.
Transom Mount
What You Need
- Transom Mount (Trolling Motor)
- Screw Driver
Optional:
- Plywood
- Screws
- Bolts
- Drill
- Aluminum cutting drill bit
Steps
- You should begin this process by checking your boat’s transform. Though it might be made of aluminum, some areas could cause problems in the future. The surface where you plan to mount a trolling motor needs to be flat and smooth.
Additional Note: The mount doesn’t have to be in the center and can be located at either side of the transom. In fact, it is the recommended placement for larger-sized boats.
- Assuming the surface area isn’t smooth, you should begin to make adjustments. Trolling motors operate have sharp blades and operate at high speeds, so it is important to make sure it’s fixed properly. This will also prevent the motor from falling off and causing injury. You should also use a piece of plywood as your mounting base. This can then be placed onto the transom where you can tighten the screws when necessary.
- Make the trolling motor clamps lose and slide the mounter on the transom. Move the trolling motor into the desired position and tighten the screws.
- Check the placement to ensure that the shaft can be moved. The mechanism should allow you to turn the trolling motor in all directions with no resistance. This feature must work correctly.
- Insert the hand controller into the shaft and continue to push it in until you hear an audible click. This means it is now in its correct place. You should then pull it back out to test its placement and to make sure that it fits correctly.
- Lastly, connect the cables of the positive trolling motor terminal to the positive battery terminal to power it up. You should also do the same with the negative ends.
Top Tip: During installation, you should keep the battery switched off to prevent unnecessary injury!
Engine Mounting
This motor directly connects to the engine and thrusts as you steer your boat. It’s a great pick if your boat lacks space in the bow or stern to fit a trolling motor. Additionally, the motor submerges when the engine is turned off and floats when the boat is actively up and running, which could increase its uncontrollability.
Steps
- Locate the anti-cavitation plate of the engine and put the bracket. Make sure the motor is upright as you do this.
- Mark holes on the plate depending on the location of the holes on the surface of the trolling motor.
- Drill through these marks with a sharp bit.
- Place the motor on top. Screw and tighten any bolts to ensure it is secure and doesn’t move about when the motor is running.
Final Say
The above steps are a general guide about how to mount trolling motors on an aluminum boat. Generally, mounting a trolling motor on an aluminum boat isn’t all that difficult of a task. It can be quite tedious but with the right advice and guidance, you can’t go far wrong!
We’d highly recommend referring back to the user manual for specific details about your trolling motor before you begin the process of installing to figure out which mount is the best for your boat.
