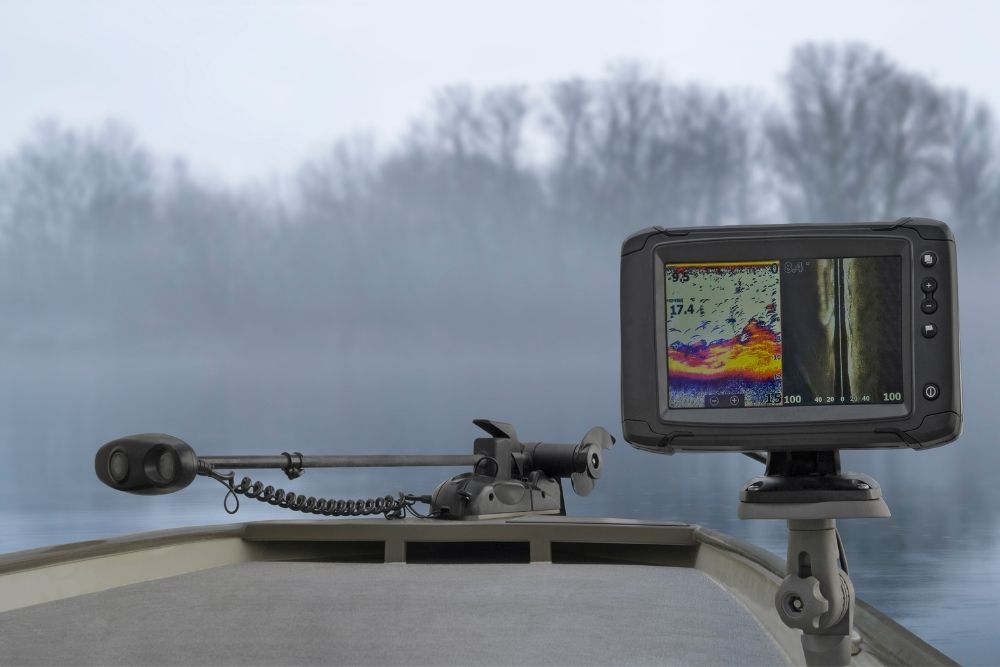
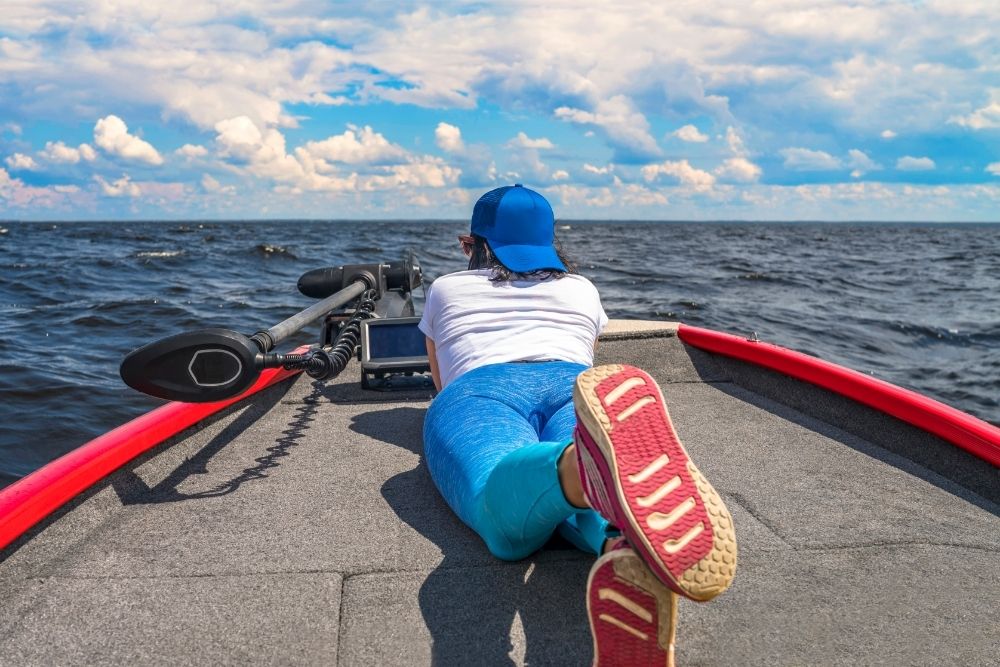
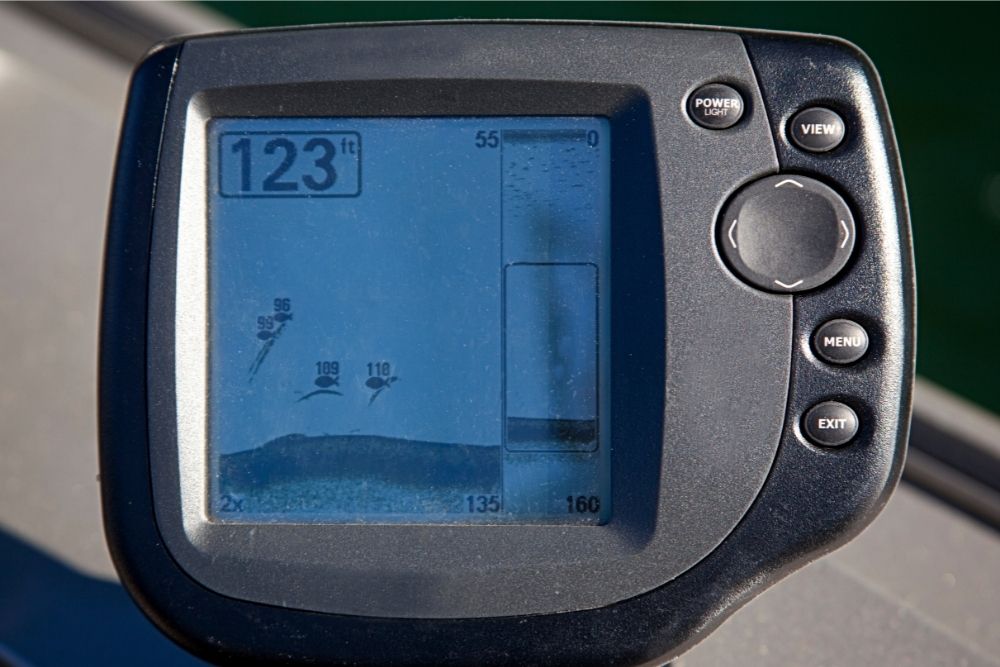
Eager to up your boating game? It might be worth looking into installing a transducer, otherwise known as a fish finder.
Transducers are, essentially, sensors that convert the signal from one form of energy to a signal from another. Most boats combine an ultrasonic transmitter and a receiver within the same device.
Essentially, sound pulses are reflected back to the receiver and then converted into useful data, like structure and depth.
But how does this benefit fishers? Most fish have a gas-filled organ called an air bladder. This allows them to easily adapt to water pressures of varying depths.

The amount of gas in the organ can be increased or decreased to adjust the buoyancy of the fish. It’s this air bladder that allows fish finders to… well, find fish!
It’s an ideal device to have, but people who own fiberglass boats often worry that mounting a transducer will be more hassle than it’s worth.
In reality, it’s really quite simple! If you’ve got even a basic knowledge of mechanics, as well as the right tools, installing a fishfinder yourself shouldn’t be a problem.
The following is a complete guide to installing a transducer on your fiberglass boat.
First Steps
Before anything else, you’ll need to set the foundation for your transducer. In most cases this will entail installing a binnacle mount.
The first thing you need to know is the ideal location. Use a tape measure in order to get an accurate picture of the amount of free space you’re going to need. Make sure you choose an easy-to-see location from the cockpit seats.
You should also be checking the back/bottom of the site to make sure there is enough space for the installation. Then find the bus bar, and make sure the boat has available terminals for additional electronics.
The next step will be preparing the mounting holes. You should be measuring at least twice before doing any drilling. To create the smoothest hole possible, you might think that taking it slow would be the right idea- but you’ll actually need to be quick and confident.
The third step will be the wiring. You’ll need to make sure that the wire has access to the transducer. First, look for a hole that already exists. If not, it’s possible you’ll need to make some additional holes behind the mount.
Next up? Powering the transducer. Route your power cable through the hole at the back of the mounting area (either a pre-existing one or one you just drilled).
When you’re arranging the plug, make sure there’s going to be plenty of slack, because you’ll need to have some space for the wires.
The wires can be secured using tie-wraps or clamps. While your boat may require a little more, the support pieces should be installed for every one and a half feet of wire.
The female connector might need to be added on the fuse block, along with the male connector, and you may need to shorten or lengthen the wire. Just make sure not to blow the inline fuse. This would not only void the warranty, but it could destroy the device entirely.
Now you can mount the transducer! Once you’ve settled on the ideal location for the bracket, press it against the transom. It might be best to perform a wiggle test at this stage, in order to be absolutely certain that you’re at the right spot.
It can be helpful to use a balance in order to keep it perfectly horizontal, and once you’re confident, mark the location of the mounting holes.
Your next step will be wiring the transducer to your dash. Once you’ve pulled the wiring through, coil any extra line that might be inside before clamping it in place.
It’s important to coil and clamp to get your lengths just right, rather than cutting the wire, which could negatively affect the performance of the transducer. Keep the transducer wire separate from the engine’s harness and the VHF cable.
Next, drill the holes that you marked out earlier. Coat the clean screws and bolt holes with an adhesive or sealant, and then you can screw in the mount and seal it off. If done correctly, this should have created a watertight seal.
Dealing With Deadrise

If you’re already in the boating community, you’ll have probably heard mention of deadrise. Deadrise is essentially the angle between the horizontal plane and the surface of the hull. A boat with a lot of deadrise would be one with a sharper, deeper, V-shaped hull.
With the transducer on the transom, the other side will be a ¾ inch, and a 1/16 inch below the extended waterline. In this instance it could be shallow or deep, meaning it should be at the proper height in order to prevent any loss of signal.
Best Types Of Transducers
There are a variety of different transducers available- whichever you go with just depends on your own personal requirements (or requirements of your boat).
For ease of installation, we recommend a transom mount with adjustable angle brackets. The only downside to this transducer is that it’s quite susceptible to turbulence.
The thru-hull transducer is ideal for more accurate depth measurements and stronger echo returns. This transducer would be most suitable for center consoles and boats with a maximum deadrise angle of 25 degrees.
An in-hull transducer is ideal for high performance boats, and those with a maximum deadrise angle of 30 degrees. A trolling motor is one of the simplest transducers to install, as it’s simply wedged to the propeller hub of the boat.
Tools Required For Mounting
Depending on the kind of transducer you’ll be installing, you’ll need an electric drill and drill bits to make holes for the mounting screws or the transducer housing and cables.
You’re also going to need sandpaper in order to smooth the inner surface of the holes, and rubbing alcohol or mild detergent to clean them. Screwdrivers, as well as either epoxy paint or marine sealant, will also be required.
Be sure to have safety glasses and work gloves before starting any work on your transducer, particularly when drilling holes. Masks are also needed when it comes to applying sealants.
Should I Install A Transducer?
Increasingly, electrical transducers are becoming essential. But every device comes with some disadvantages, so whether or not you should be getting a transducer all depends on your personal needs.
The following are the main advantages of getting a transducer, followed by the disadvantages.
Advantages
- The electrical signal received from the transducer can be processed and amplified easily to a level suitable for an output device, such as a recorder or an indicator.
- The power output is easy to use, transmit, and process for measurement purposes.
- The electrical system can be controlled with very little power.
- Thanks to IC technology, electronic systems are now very small and require little space to operate.
- The electrical system doesn’t include moving mechanical parts, so there is no risk of mechanical wear or mechanical failures.
Disadvantages
- Electrical transducers may be slightly less reliable than mechanical transducers, due to the potential aging and drifting of active components.
- In addition, the signal processing circuits associated with the sensor elements tend to be quite expensive.
- Negative feedback techniques improve the measurement accuracy, as well as the system’s stability, but this comes at the expense of space, increased circuit complexity, and cost.

The Difference Between A Transducer And A Sensor
While transducers and sensors might seem more or less alike, their definitions are not quite the same.
Transducers tend to be wider than sensors, and they include both sensors and actuators. Sensors react to something in the environment (electrical, mechanical, temperature, pressure and so forth), and convert it into an electronic signal that can then be recorded and analyzed.
So, essentially, sensors are generally a type of transducer.
Parts Of A Transducer
Sensor transducers will have a sensor head, which is the part that responds to changes in the environment. Changes in the environment can include magnetic fields, pressure, temperature and so forth.
Naturally, some electronics are involved, because the change in the environment needs to be converted into a usable electrical signal.
This may be as easy as a resistor that converts an induced voltage into a current, and vice versa. It can also be an amplifier that strengthens a small signal into one that’s actually useful, or an integrator, which would convert the rate of change of the current into a waveform.
Conclusion
If you can afford the proper gear and you’re confident that you can install a transducer without damaging your boat, we highly recommend it.
While it might get rather pricey, there are not a whole lot of downsides to having a transducer, and they’re far outweighed by the advantages. At the end of the day, it’s bound to make your boating life a whole lot easier.
