There are plenty of great things to love about camping—the sights and sounds of the wilderness, the fresh air, and tasty treats around a roaring campfire.
However, there is one occurrence that is NOT very great—the sight, sound or feel of water penetrating into the inside of your tent.
Although rainy nights are usually a rarity during the camping season, the truth is they do happen.
And when the weather turns cold and damp, it pays to be prepared by ensuring your tent is absolutely watertight.
To help you accomplish this goal, in the following article we will outline a couple of different strategies for waterproofing a tent—proven strategies that are sure to keep you warm, toasty and dry throughout the camping season.
Best Waterproof Tent Sprays To Buy
| PHOTO | SPRAY | NOTES | ||
|---|---|---|---|---|
|
Best That Money Can Buy
 |
Best That Money Can Buy Pick
|
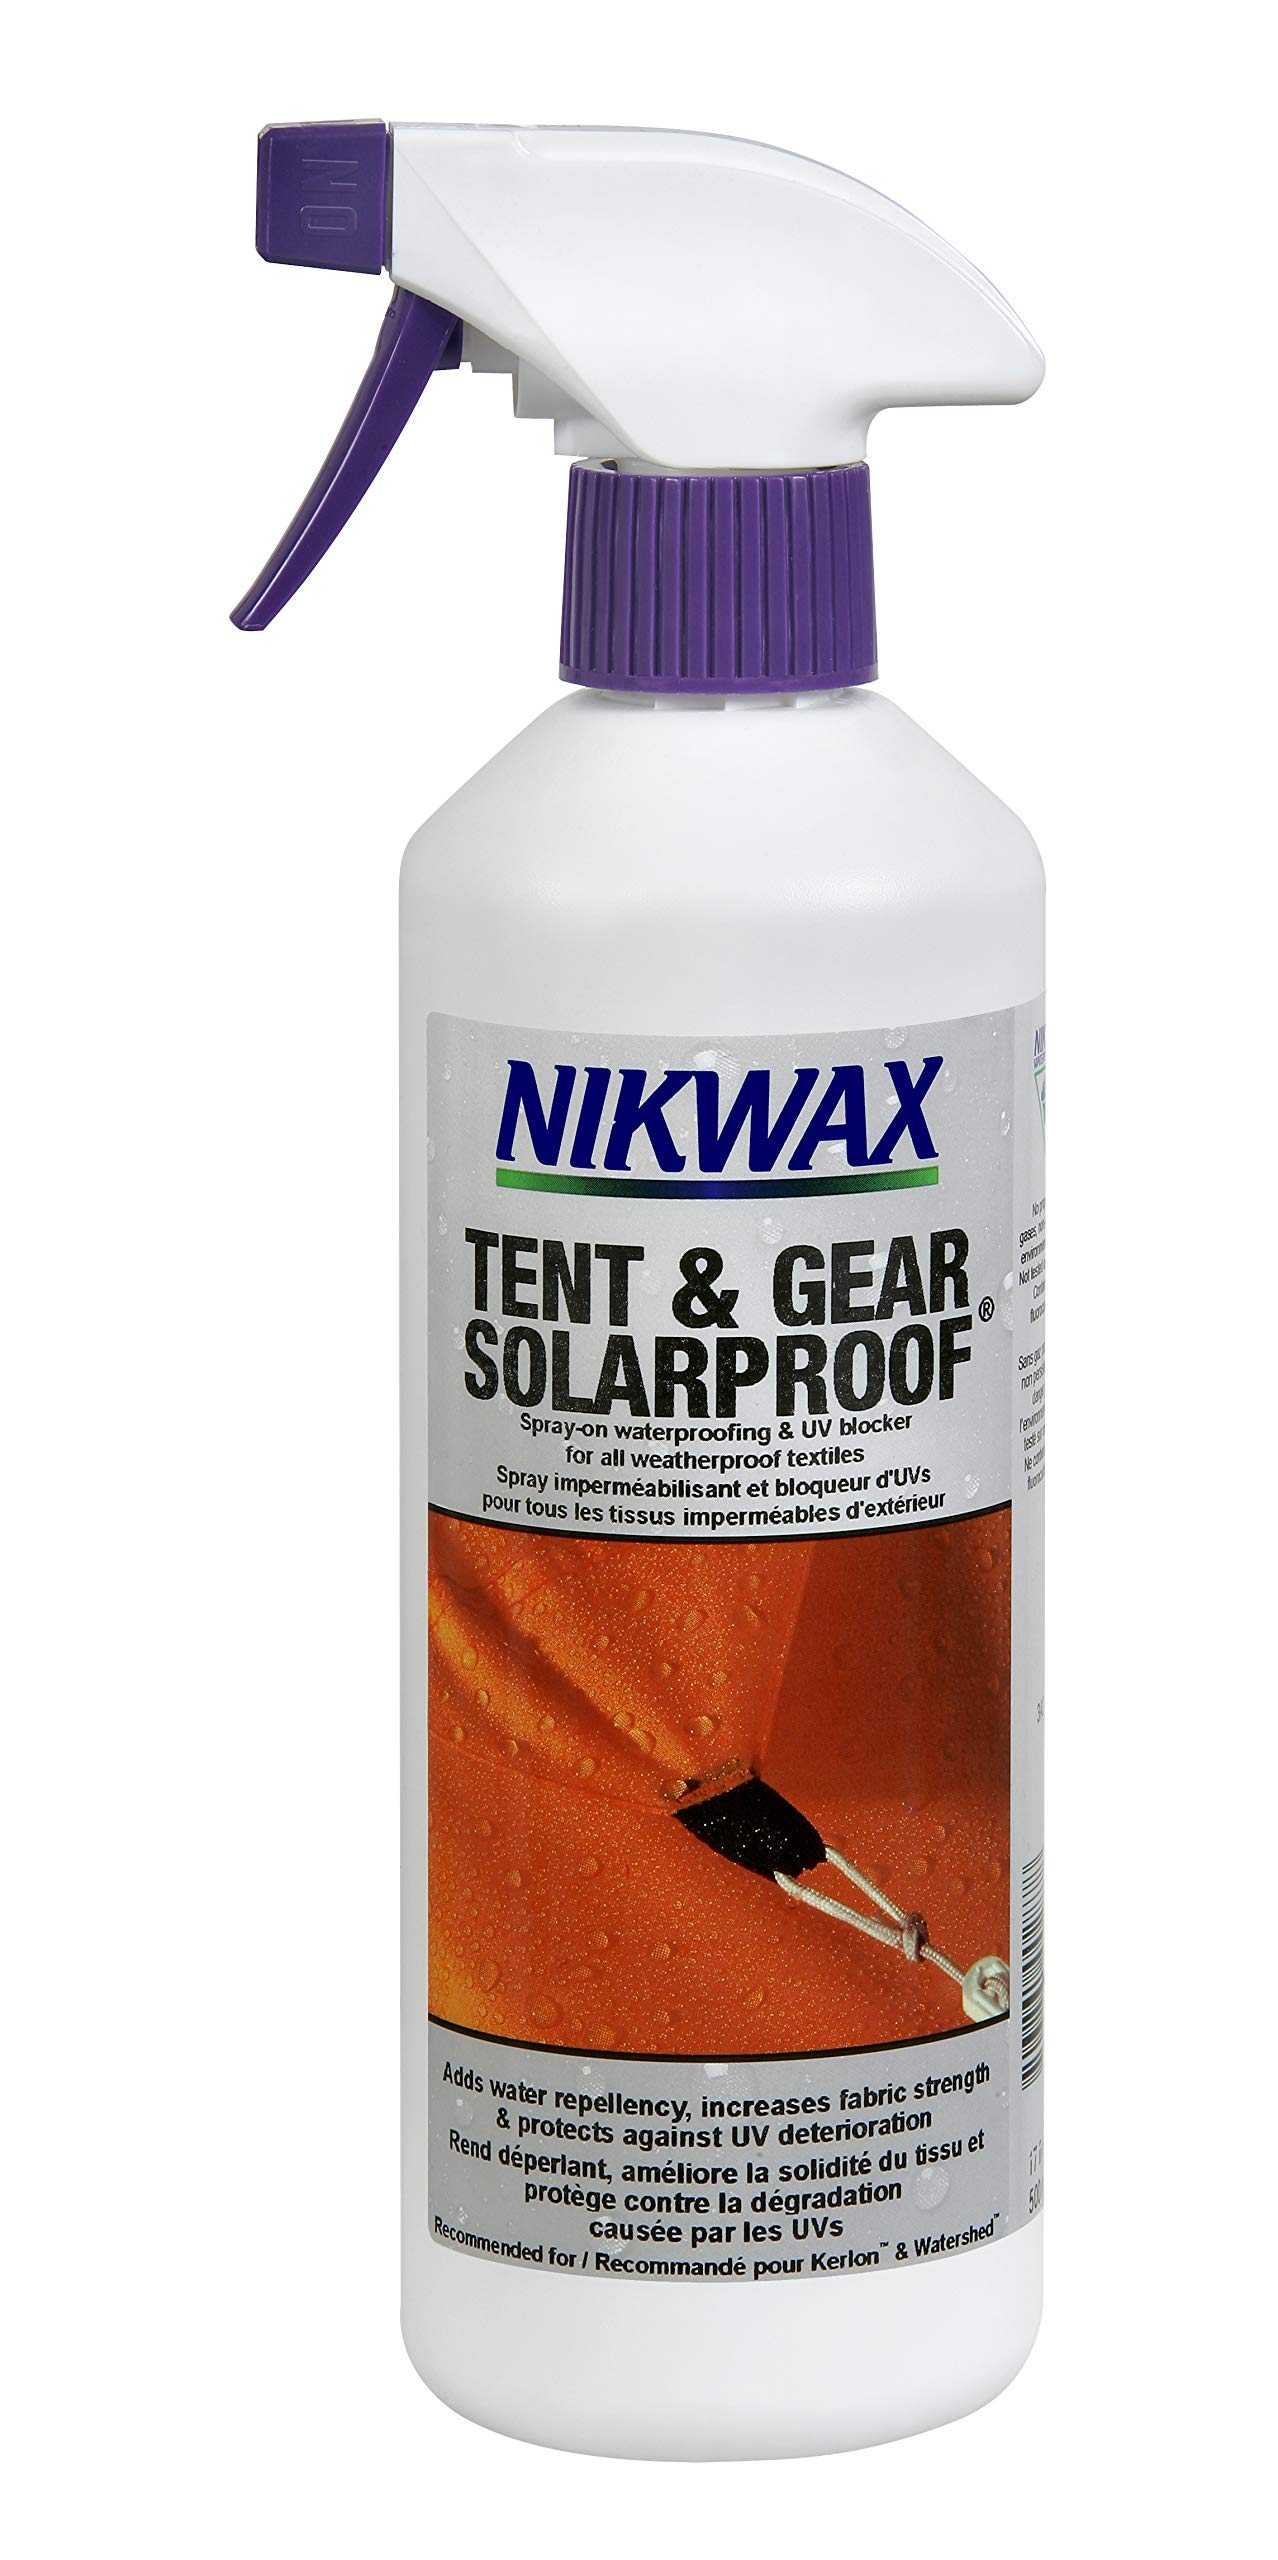
Nikwax Tent & Gear SolarProof (Spray-On), 500ml
|
|
Buy At Amazon |
|
Premium Quality – Editor’s Pick
 |
Premium Quality – Editor’s Pick
|
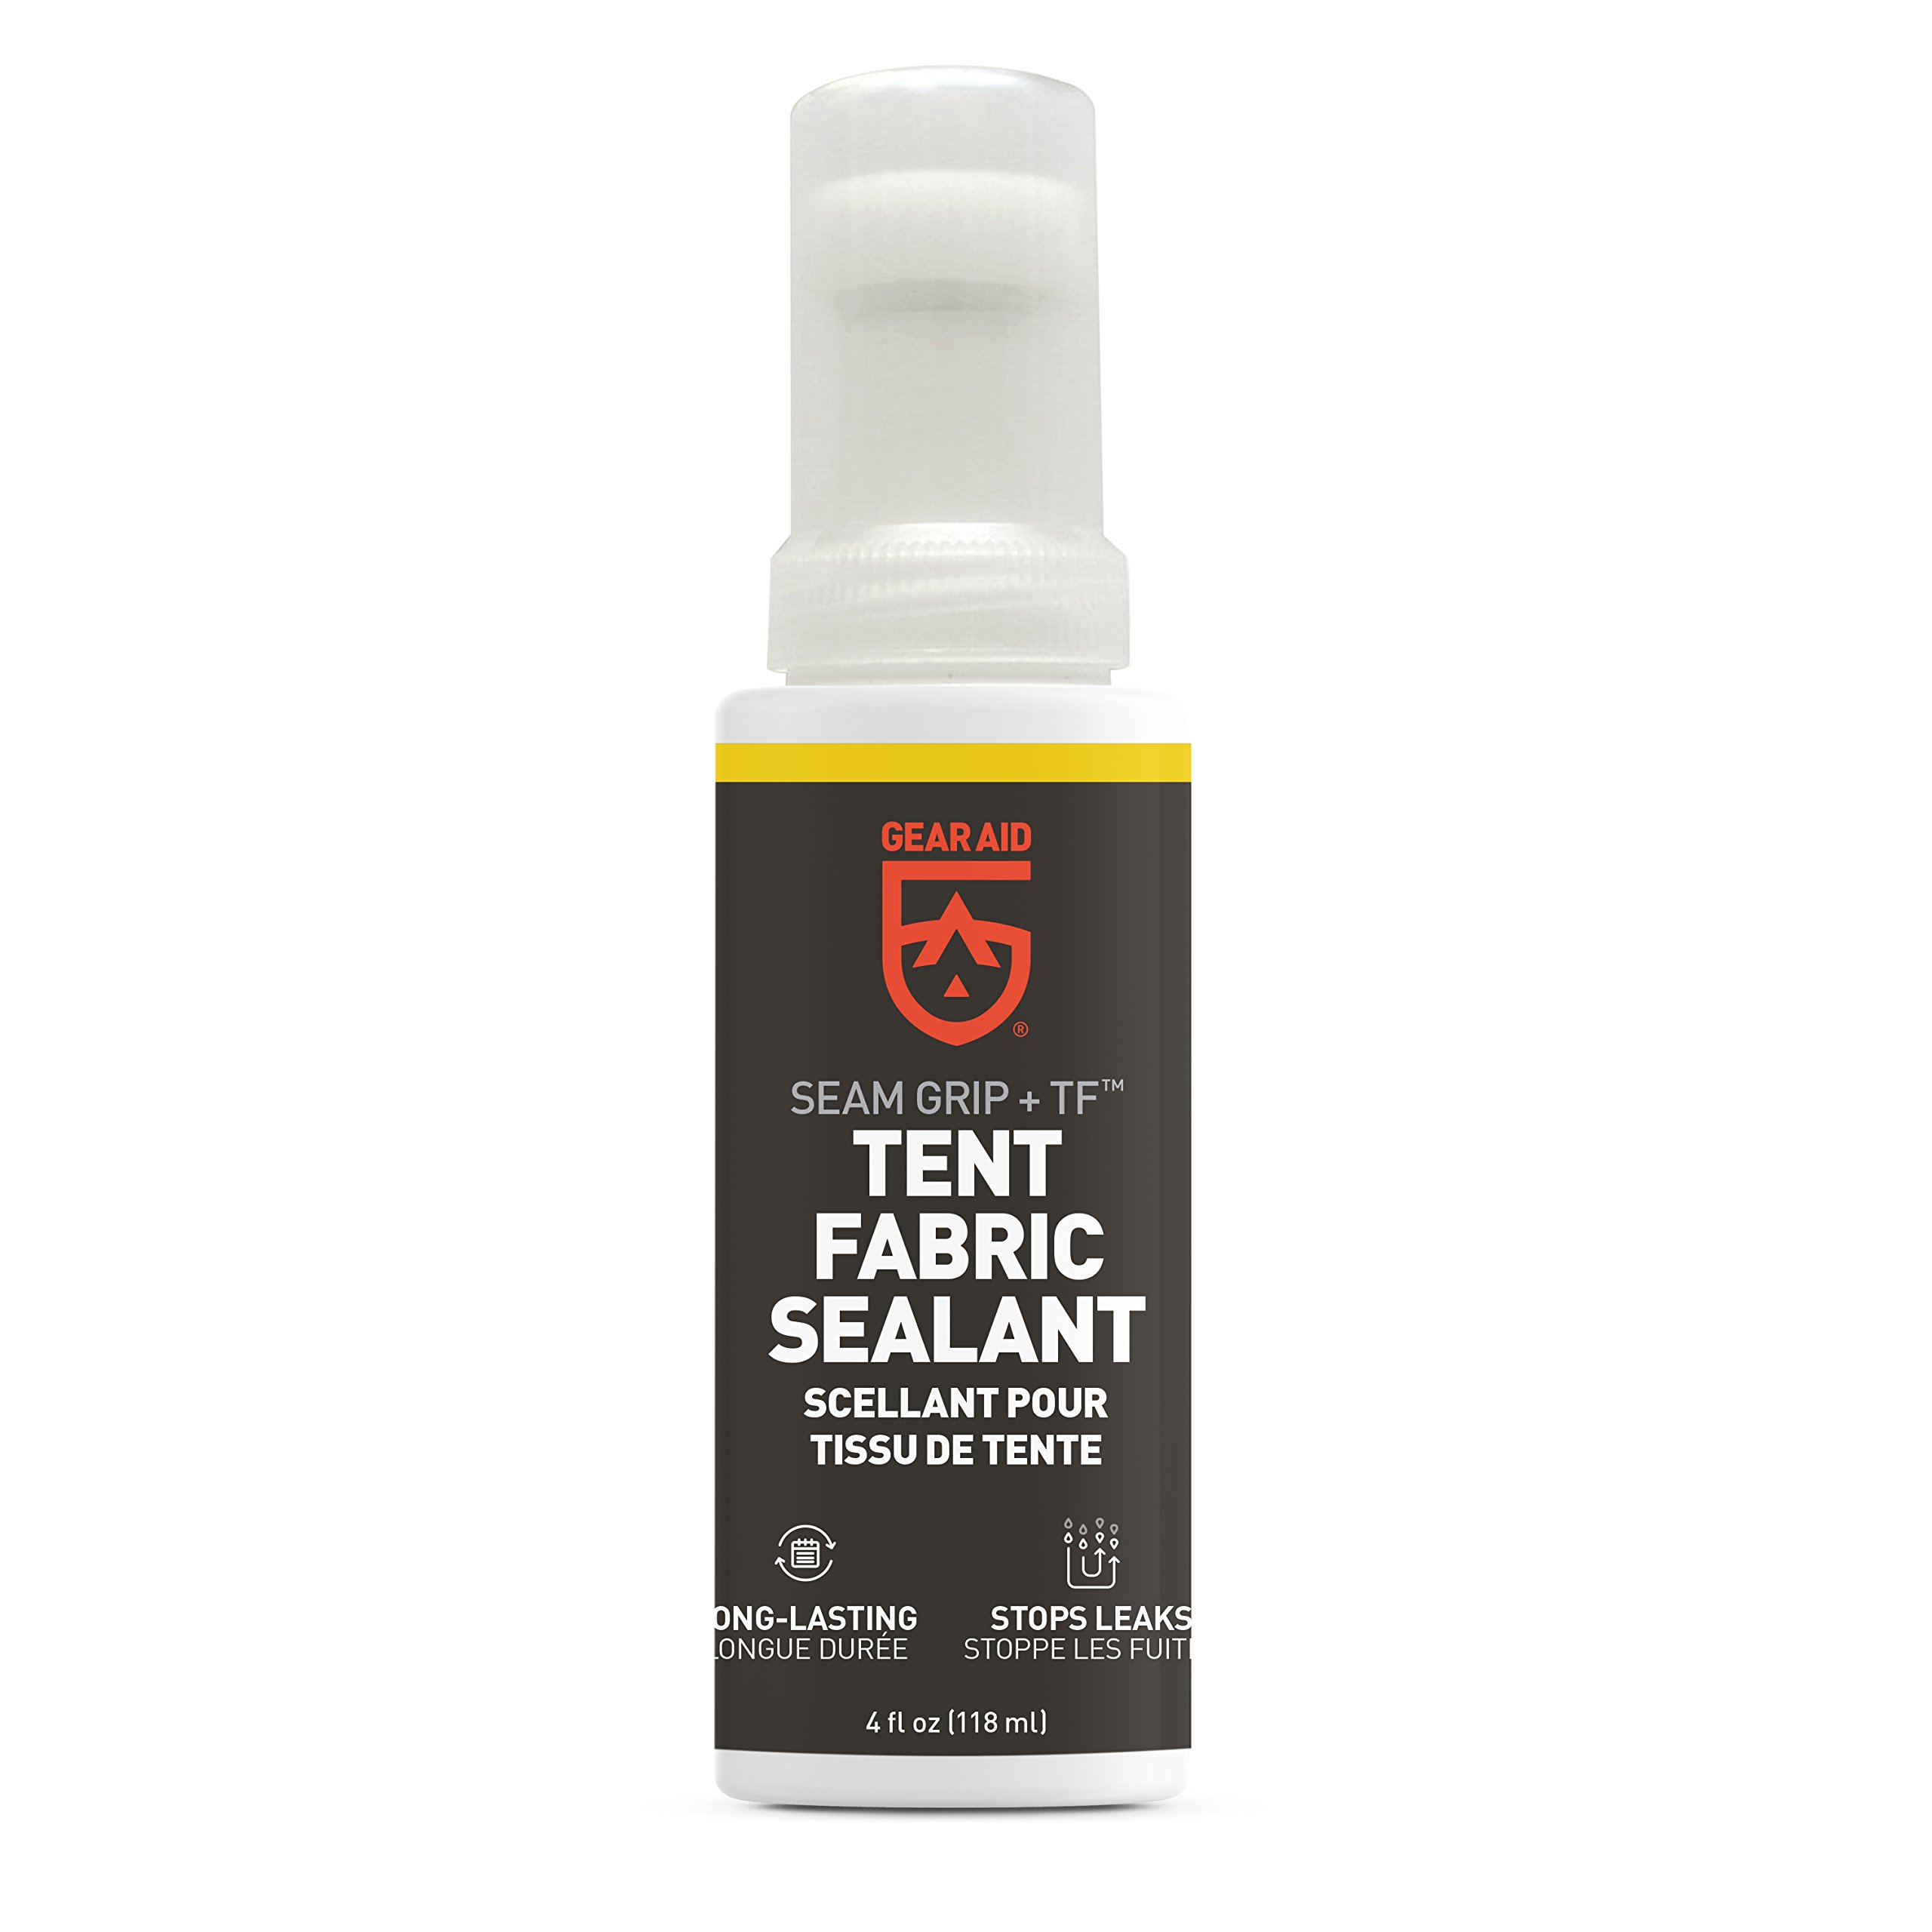
Gear Aid Seam Grip TF Tent Fabric Sealer for Waterproofing, Clear, 4 fl oz
|
|
Buy at Amazon |
|
Best Value For The Money
 |
Best Value For The Money
|
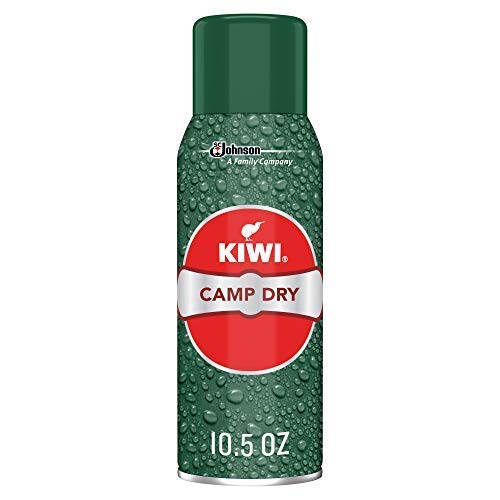
Kiwi Camp Dry Heavy Duty Water Repellent, 2 – 10.5 oz cans
|
|
Buy at Amazon |
If you’re interested in shopping for waterproof tent sprays that you can use to renew your tent or improved its water resistance, then let us make that process a bit easier for you.
Below we’ll share some of our favorite waterproofing sprays for tents to keep you dry on your next camping trip.
1. Kiwi Camp Dry Heavy Duty Water Repellent
This right here is a great choice when it comes to making your tent repel water.

There’s a lot to like about this one, which is why it’s our one of our favorite options for people on a budget.
Here’s why we like Kiwi Camp Dry Heavy Duty Water Repellent:
- Affordable price
- Protection is silicone based
- Easy to apply
With one can you can usually get a liberal two-coat application on a tent fly. And bonus, you can use this spray on other outdoor gear, including your shoes!
2. Gear Aid Seam Grip TF Tent Fabric Sealer for Waterproofing
If you want a spray that is designed exclusively for tent seam sealing, then this is what you’ve been looking for right here.

Though it only comes in a 4 ounce bottle, this is still our #1 pick for the best tent seam sealer because it’s amazing.
Here’s why we like Gear Aid Seam Grip TF Tent Fabric Sealer for Waterproofing:
- Recommended by Kelty outdoor gear brand
- Long lasting protection
- Easy to use
- Designed exclusively for tents and tent floors
- The ultimate tent sealer for high quality protection from the rain
This brand was previously known as Tent Sure, if it looks familiar to you. With this, you can seal up to 85 sq. ft. of nylon tent floors, rainflies and tarp.
3. Nikwax Tent and Gear Cleaning, Waterproofing, and UV Protection Spray
If you take your outdoor gear seriously, and you want the best waterproofing tent spray that money can buy, then look no further than this spray from Nikwax.

It comes in a generous 16.9 ounce bottle, which means it will last you longer than the other sprays that we recommend.
Here’s why we like Nikwax Tent and Gear Cleaning, Waterproofing, and UV Protection Spray:
- Designed for tents and outdoor gear
- Also works at a UV protection spray
- Can even be used to clean your outdoor gear
- Easy to use
- Water based, biodegradable, and contains no PFCs, VOCs, optical brighteners, or added scent
How to Choose the Best Waterproof Tent Spray for Your Outdoor Gear
As you shop for a good tent waterproofer, you might have some questions about what’s most important for you to consider. Let us help you out by answering some of the most common questions that we hear from campers like you.
Silicone Based Sprays vs Non-Silicone Based Sprays
As you compare the various bottles of outdoor gear waterproofers on the market, you’ll notice that there are two distinct types of waterproofing sprays:
- silicone based
- non-silicone based
So, which is ideal for waterproofing your tent? Silicone!
In general, silicone is used in all sorts of things as a waterproofing agent, which makes it the ultimate ingredient for repelling water.
That being said, we have used decent non-silicone based sprays – though this isn’t always true. So, if you prefer non-silicone sprays, choose wisely.
Aerosol vs Spray Bottles
Another thing you’ll notice is that some of the waterproofers come in aerosol spray cans, while other come in pump-action spray bottles.
So, which is the better option for you?
Well, this is a tricky one. The aerosol cans offer better spray coverage, but they’re not environmentally friendly.
The spray bottles work like a spritzer, so there isn’t always an even application of the repellant. However, it is much better for the environment.
Seam Sealing vs Waterproofing Spray: What’s The Difference?
Another thing that you’ll notice when comparing sprays is that some focus on waterproofing, while others focus on seam sealing.
Those are not the same thing.
Seam sealing spray is designed for use when you know that there is already a leak in your tent. You apply it to waterproof the tent by stopping the leak.
Waterproofing spray is basically a pre-emptive measure to keep out the water. You apply it to the surface of the tent to keep water from seeping through the tent’s fabric.
Waterproofing spray is also used to renew the tent’s waterproof coating, which is something that you should be using it for regularly.
How to Apply Waterproof Tent Spray
Once you get yourself a bottle of waterproof tent spray, getting it onto the tent is super easy. In fact, if you’ve ever used a similar spray on your boots, then you already know what to do!
Here are the 5 basic steps to apply a waterproofer spray to a dry tent:
- Set up your tent in your garage or other area that is dry and well-ventilated.
- Hold the bottle a few inches from the tent’s fabric and spray to apply in even strokes. You’ll want to overlap each stroke by about an inch to maximize coverage of the waterproofer.
- Look for runs and drips as you spray. There should be none of these! If you see some, then it means you’re too close and should step back a bit from the tent while you apply the spray.
- Leave the tent to dry for 12-24 hours before you break it down.
- Optional: apply a second layer of the spray if you think your tent needs it.
Can You Waterproof A Tent That Wasn’t Originally Waterproof?
Sadly, the answer is no. If you did not buy a waterproof tent, then there is nothing that you can do to make it waterproof.
Waterproof sprays only work on tent fabric that was already waterproof to begin with.
Ways To Waterproof A Tent
According to some of the premier experts in tents and camping, there are essentially 2 proven strategies you can follow when looking to completely waterproof a tent. These two steps include:
- Sealing the Tent Seams. There are several steps you can take to ensure that the seams on your tent are sealed. These include sewing any seams that have become ripped or torn from excessive wear, and the application of a product known as a seam sealer—a product that will help you eliminate the possibility of moisture seeping through the seams of your tent.
- Applying/Refreshing the Urethane Coating on Your Tent. While not all tents are equipped with a urethane coating on the inside and outside portions, most of your modern-day tents are. Over time, however, this urethane coating can begin to wear off, leading to moisture when and where you least need it. By applying or refreshing a brand new layer of urethane coating onto the inside of your tent’s rainfly and floor you’ll be treating the key barriers on your tent into which moisture might otherwise seep.
Seam-Sealing Your Tent
It’s no secret that, just like clothing, the various parts of your tent are held together by seams. These seams, when tight and stitched close together, can go a long way towards keeping your tent warm and dry during a downpour.
Thus, the first step you should take is to check all of your seams carefully before heading out on your next camping adventure. When doing this, check for any seams that appear to be coming apart or for those that are looking worn.
When you find these irregularities, use a hand sewing kit to put a new stitch down the center of the seam, thus holding the different pieces of the tent closely together.
After you have checked and repaired all the seams, making sure they are tight and stitched correctly, you can then move on to the next phase of seam sealing. Today there are many products on the market that are manufactured for the sole purpose of sealing seams on outdoor gear.
These products, which come in a liquid form, help to reinforce the seams and therefore prevent moisture from entering the tent. In many cases, these seam sealants are used in the factory when making your tent, but they can wear off over time making the seams very vulnerable to water.
If you notice a leaky seam on your tent when you are out camping, it would behoove you to treat that seam with seam sealant. Moreover, if you have one leaky seam, the chances are pretty good that the other seams are also beginning to wear, so you might as well treat the entire tent in one coordinated shot.
Before you commence with the process of sealing your seams with a tent seam sealant, you will need to assemble all the materials you will need to get the job done. These materials include:
- Liquid Seam Sealant. The first thing you will need is the liquid seam sealant. However, do NOT just purchase the first product you come across. Different sealants are required for different types of tents. For example, if you have a tent whose fabric was treated with silicone during the waterproofing process, you will need a silicone-based sealer. Most tents these days are treated with a polyurethane coating, and polyurethane sealants are very easy to find in most camping and home improvement stores. If you are unsure of the exact type of tent you own, be sure to check with the manufacturer before buying the seam sealing product.
- Rubbing Alcohol. The rubbing alcohol will mostly be used as a cleaning agent. Therefore, any brand of rubbing alcohol should do the trick.
- Rag. The rag will be used to clean the seams and apply the new sealant in some cases.
- Drop Cloth. To ensure you leave no mess behind, be sure to use a drop cloth to pick up and absorb any spills.
Now that you have all your materials assembled, you can begin the process of sealing your tent’s seams. To accomplish this, you will first want to set your tent up (exactly as you would when camping).
Set the tent up in a dry, sunny spot in your yard—a spot that is well-illuminated allowing you to examine the seams thoroughly (if you live in an apartment, you can also set the tent up in a brightly-lit room indoors).
Keep in mind that when you ultimately seal the seams you will be doing it from the inner side of the body of the tent and on the underside of the rainfly. For this reason, we recommend that you set the rain fly up inside out, giving you much simpler access to the seams that keep the fly intact.
As you inspect the inner side of the tent body and rainfly, look for any seam tape that is coming loose or falling off. If you spot some of this dislodged tape, you can use scissors, a razor blade or even your fingers to gently peel the tape off.
Do not, however, peel so hard that you upset sections of the tape that are still intact—these you will want to leave alone.
Using your rag and the rubbing alcohol you purchased, begin the process of cleaning all the seams. Be sure to clean all the seams on the inner side of the tent body and the rainfly.
By cleaning these seams, you will actually allow the seam sealant to better adhere to the tent when it is ultimately applied.
Once all of the seams are inspected, prepped and cleaned, follow the directions on the bottle of seam sealant you purchased to seal any seams that look worn. For best results, we suggest you take this opportunity to seal EVERY seam in the tent for reasons already stated.
This is the best time to seal the entire tent given that the seams are already prepped and cleaned.
Once all of the sealant has been applied to the underside of the seams, it will need some time to fully dry and set up. We highly recommend you allow at least four to eight hours for all the seams to dry, prior to breaking down and storing away your tent.

Urethane Coating & Tent Fabrics
Most tents today, especially the rainfly and floors of those tents, are pretreated at the manufacturer with a polyurethane coating that helps repel moisture and keep the inside part of your tent nice and dry.
However, this coating is not made to last forever; it will wear off over time, leaving your tent vulnerable to water. Therefore, if you notice a flaky substance on the rainfly or floor of your tent, it’s probably time to apply a new layer of urethane to the inner part of those two tent components.
In order to refresh the urethane coating of your tent you will need a few materials. These include:
- Urethane Substance. Just as with the seam sealant, the type of urethane coating you purchase will depend on the type of tent you have. Be sure to read the bottle carefully and make sure you are purchasing the proper product.
- Rubbing Alcohol. The rubbing alcohol will again be used as a cleaning agent to remove the old, flaking urethane coating.
- Sponge. Be sure to select a sponge with an abrasive pad on one side—it may take some scrubbing to remove any older urethane product.
The first step in this process is to lay the rainfly and floor of your tent out flat, preferably on a hard, flat surface (like a drive way). This will make it easier to clean off the old product.
Next, using the rubbing alcohol and the abrasive side of the sponge, carefully scrub away all of the old urethane product from the tent surface. You can then turn the sponge over and sop up any extra alcohol or debris.
With the floor and rainfly of your tent still laying flat, remove the cap from the urethane coating you purchased and spray the new urethane carefully and evenly over the entire surface.
Once you have sprayed every inch of the floor and rainfly, allow 4-6 hours for the product to dry and setup before folding and storing. You now have a tent that is treated and protected for the next big rain.
As you can see above, you can easily keep your tent water-free on your camping tents just by keeping some quality waterproofing tent spray in your pack.
For this, we highly recommend Nikwax Tent and Gear Cleaning, Waterproofing, and UV Protection Spray.
